USER’S GUIDE for the
LRD2100 and LRD2100C – Capacitive Label Sensor
Warnings
Sensor body is connected to Ground. Sensors must not be aached to voltages in excess of 30VRMS or 60VDC. Use of the equipment in any other manner may impair the safety and EMI protecons of the equipment. All power must be off when installing the sensor.
Specifications
| Power Supply | Voltage | 11-28 V (reverse polarity protected) |
| Current | 50mA | |
| Response Time | on or off | 20µs max |
| Switching Frequency | 10kHz max | |
| Output | Output Current (sinking or sourcing) | 150mA max (overload protected) |
| Switching Output | PNP (sourcing) or NPN (sinking), dark or light switching | |
| Temperature | Operating Range | 40°F to -140°F (4°C to 60°C) |
| Protections | Supply | Inverse Polarity Protection |
| Switching Output | Short Circuite and Overload Protection |
Dimensions
Wiring
Adjusting the LRD2100
- The adjustments on the LRD 2100 are marked maximum as ‘100’ and the minimum is marked as ‘0’.
- Turning the adjustments past the maximum and or minimum will result in damage to the sensor.
- Adjustments when first installed on a machine are seen below.
Step 1
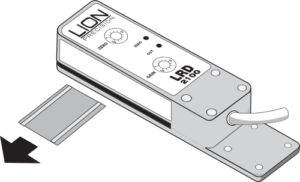
Remove all material from sensor
Step 2
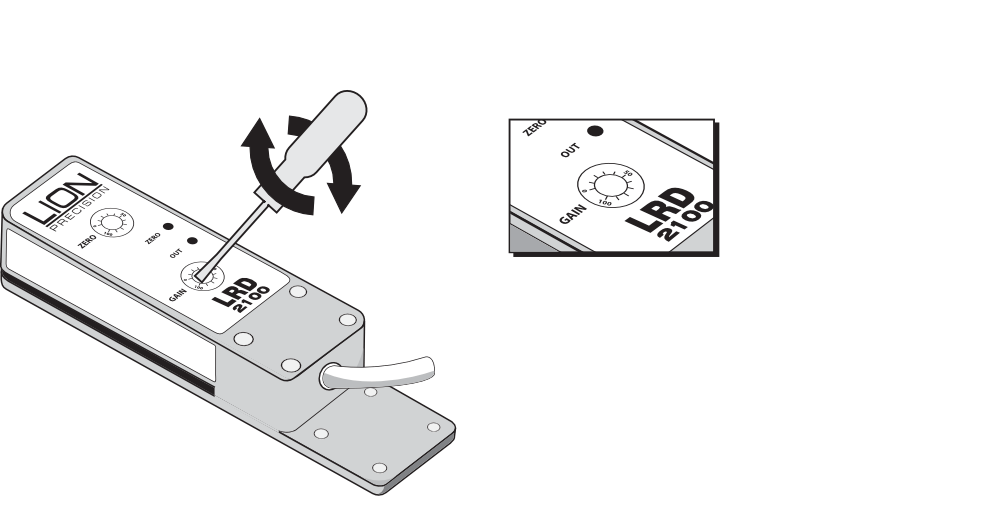
Set GAIN to middle (50)
Step 3
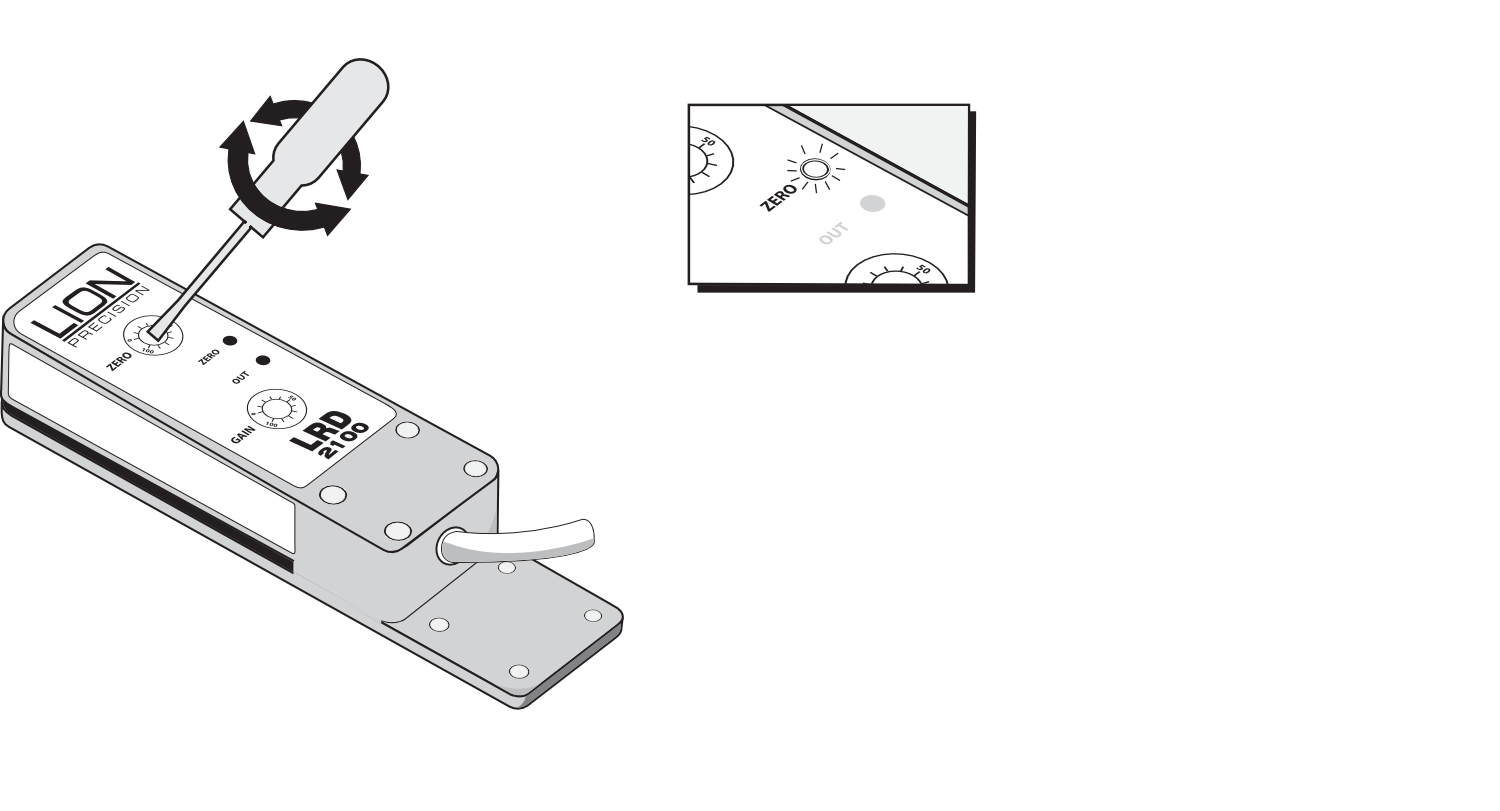
Turn the ZERO adjustment to where the ZERO light changes between on and off. It is not important whether it is on or off when complete, as long as it is close to where it changes.
Step 4
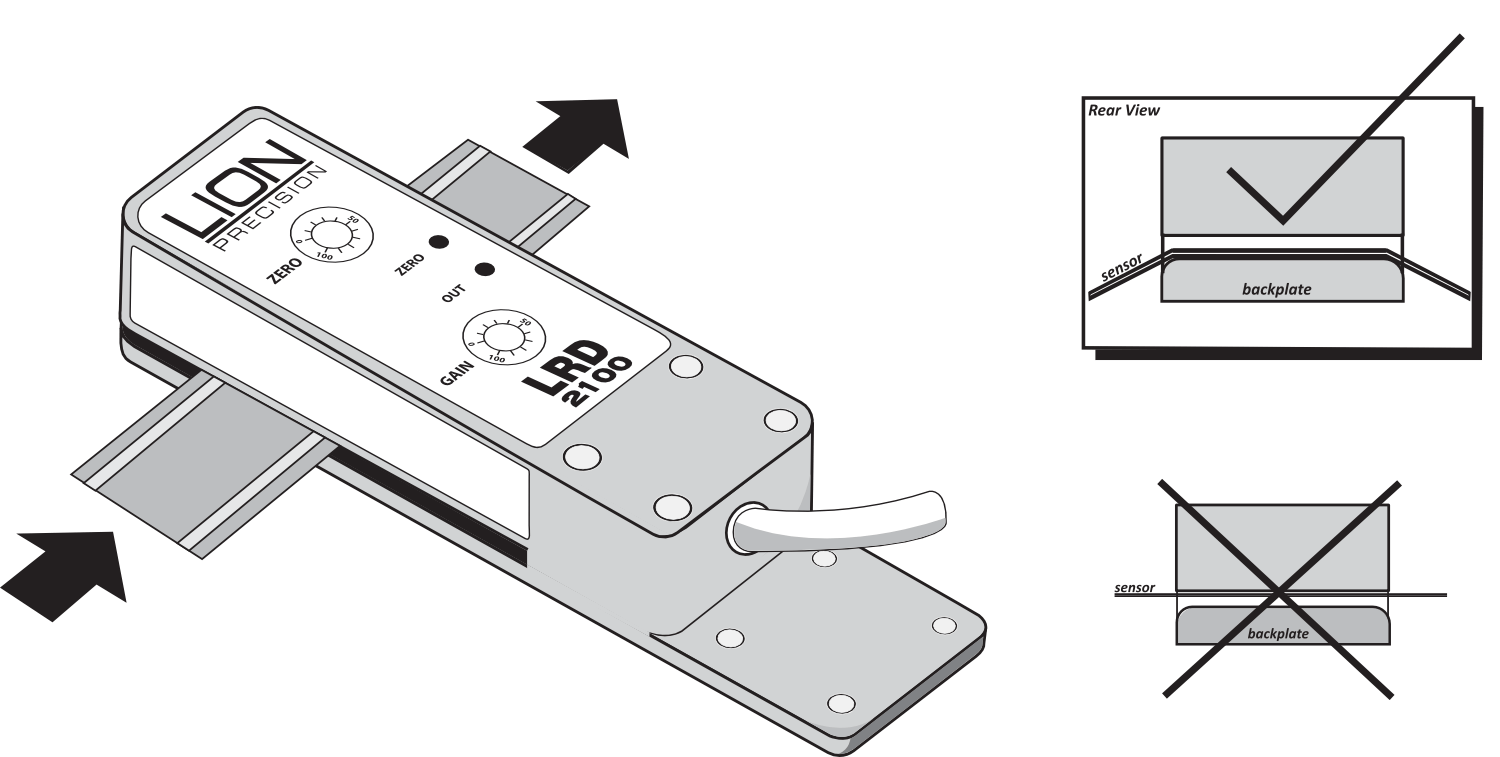
Add label material to sensor.
Adjustments when Label Stock Is Changed
Usually None. The basic setting on the previous page (Gain at Midpoint) will work for most labels. Very small labels may require an increase in Gain. If, and ONLY IF, the new labels aren’t being detected correctly, use this procedure.
Step 1
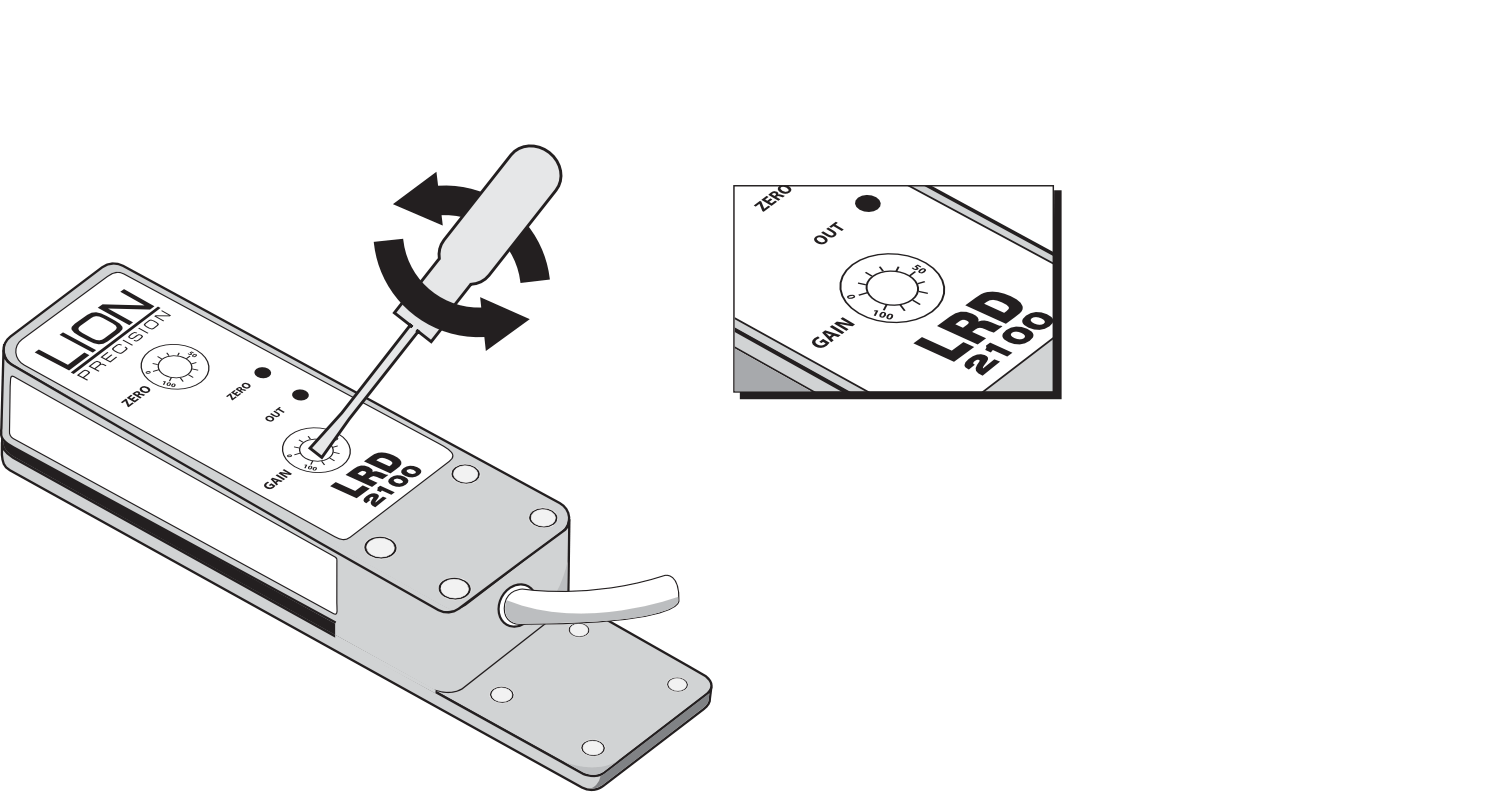
Set GAIN to minimum (0)
Turn the GAIN button counterclockwise until it points to 0.
Step 2
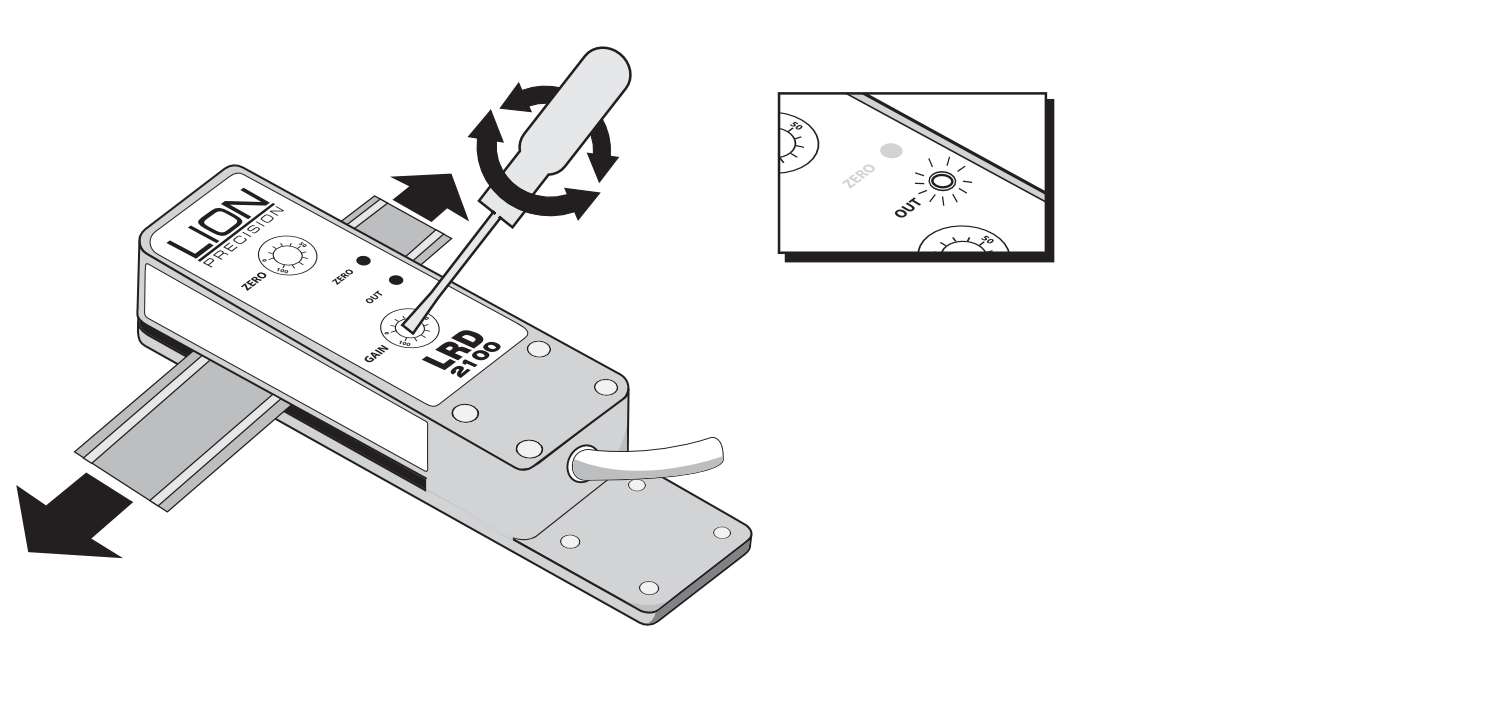
Adjust GAIN
Move labels through the sensor and increase GAIN until the OUT light just begins to flash as the gap moves through the sensor. Then, turn the dial one additional tick mark. Create some slack in the web and move one gap back and forththrough the sensor while adjusting.
Step 3
No Label Detected
If the sensor does not detect labels reliably, you may have label materials that require an LRD6300 or LRD8200. Contact your Lion Precision sales representative for more information.
Output and Mechanical Detail
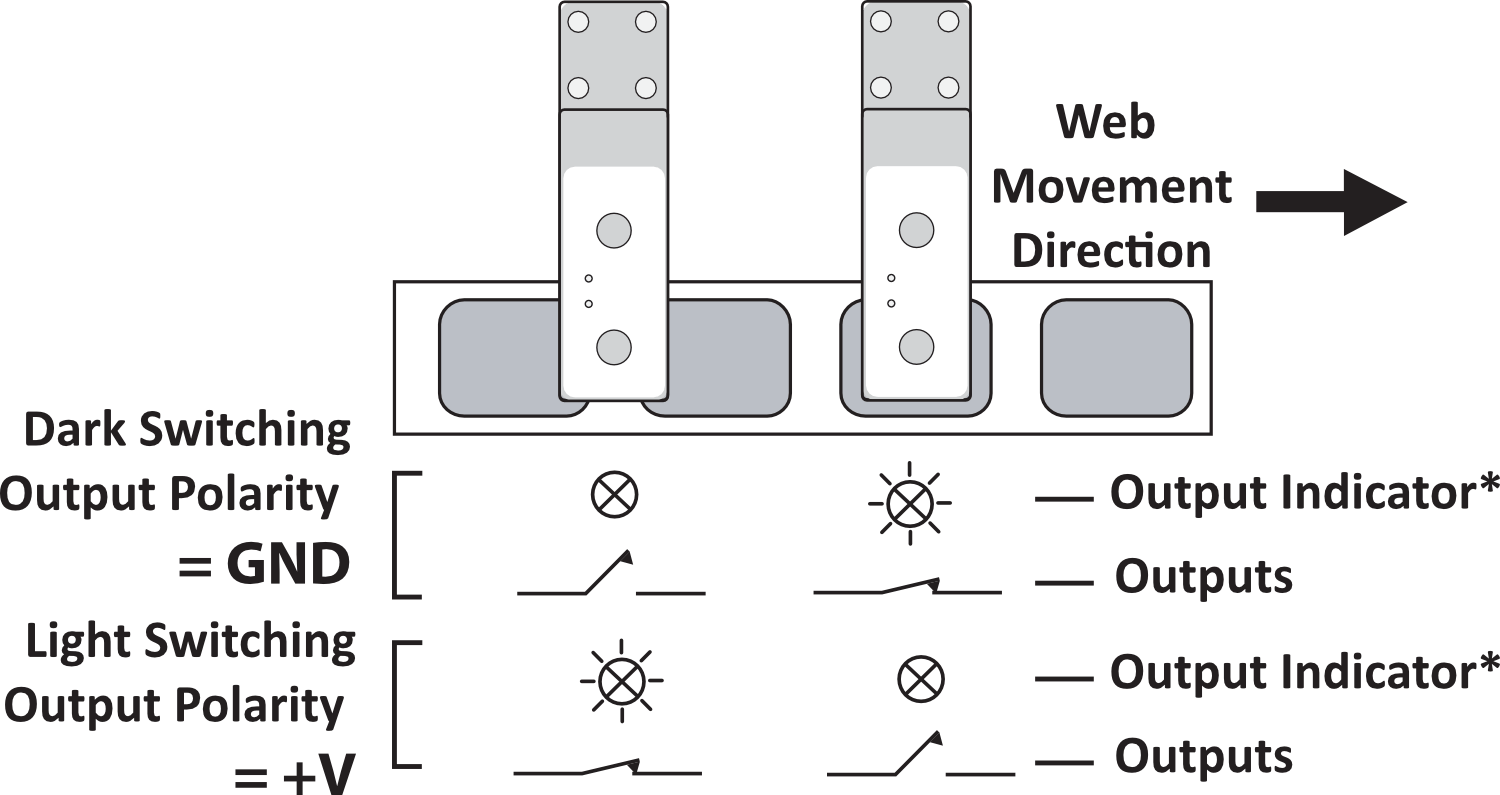
Light/Dark switching is affected by the direction of label movement and the Output Polarity connection. Output descriptions seen here are for web direction indicated in the illustration and are reversed for web movement in the other direction.
