SEMICONDUCTOR CASE STUDY
THE BENEFITS
DETECTS:
-
Blister Defects
-
Cracks
-
Delamination
-
Scratches
-
Contamination
-
Chips
-
Slurry
-
Residual Cleaning Agents
DOWNLOADS
Case Study PDF
The Solution
CPL350 Driver
C9.5-5.6S Probe
Relevant Case Studies
Z-Height Measurement for Scanning Electron Microscopes
SEMI Silicon Wafer Thickness
Useful Links
Z-Height White Paper
Capacitive Sensor Optimization & Technology
The Problem
Backside Inspection and review are critical stages for determining whether wafers have become contaminated with particles due to a tool malfunction or process problem. Contamination can lead to reduced yield. Because contamination can cause stepper hot spots or further contamination of process tools, it is highly desirable to detect contamination before it creates further problems.

Why Lion Precision
For over 30 years Lion Precision has been supplying non-contact capacitive displacement measurement systems for precise measurements to the industry. Their high bandwidth, nanometer resolution and vacuum compatibility combined with very high reliability and custom design capability made the Lion Precision capacitive system the best choice for this measurement.
The Process
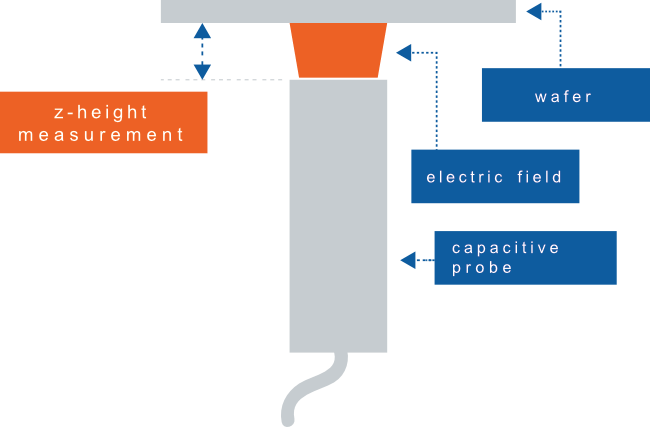
In order to solve the problem for the customer, Lion Precision started by understanding the requirements around the customers application starting with precision levels (Resolution and Bandwidth), communications (Analog or Digital), and environmental (vacuum, temperature, etc.). Once the proper probe and driver were selected, a review of the constraints in size and mounting were considered. In this application, the probe was mounted below the wafer itself. This allowed the customer to leverage Lion Precision’s capacitive probe sensing element which averages over a relatively large area on the surface, making it ideal for “Z-height / focus” detection on an automated inspection system. Finally the probe was tuned with a custom calibration for the specific range to give the customer the maximum performance available which leads to the best inspection process for detecting contamination and defects.
The Solution
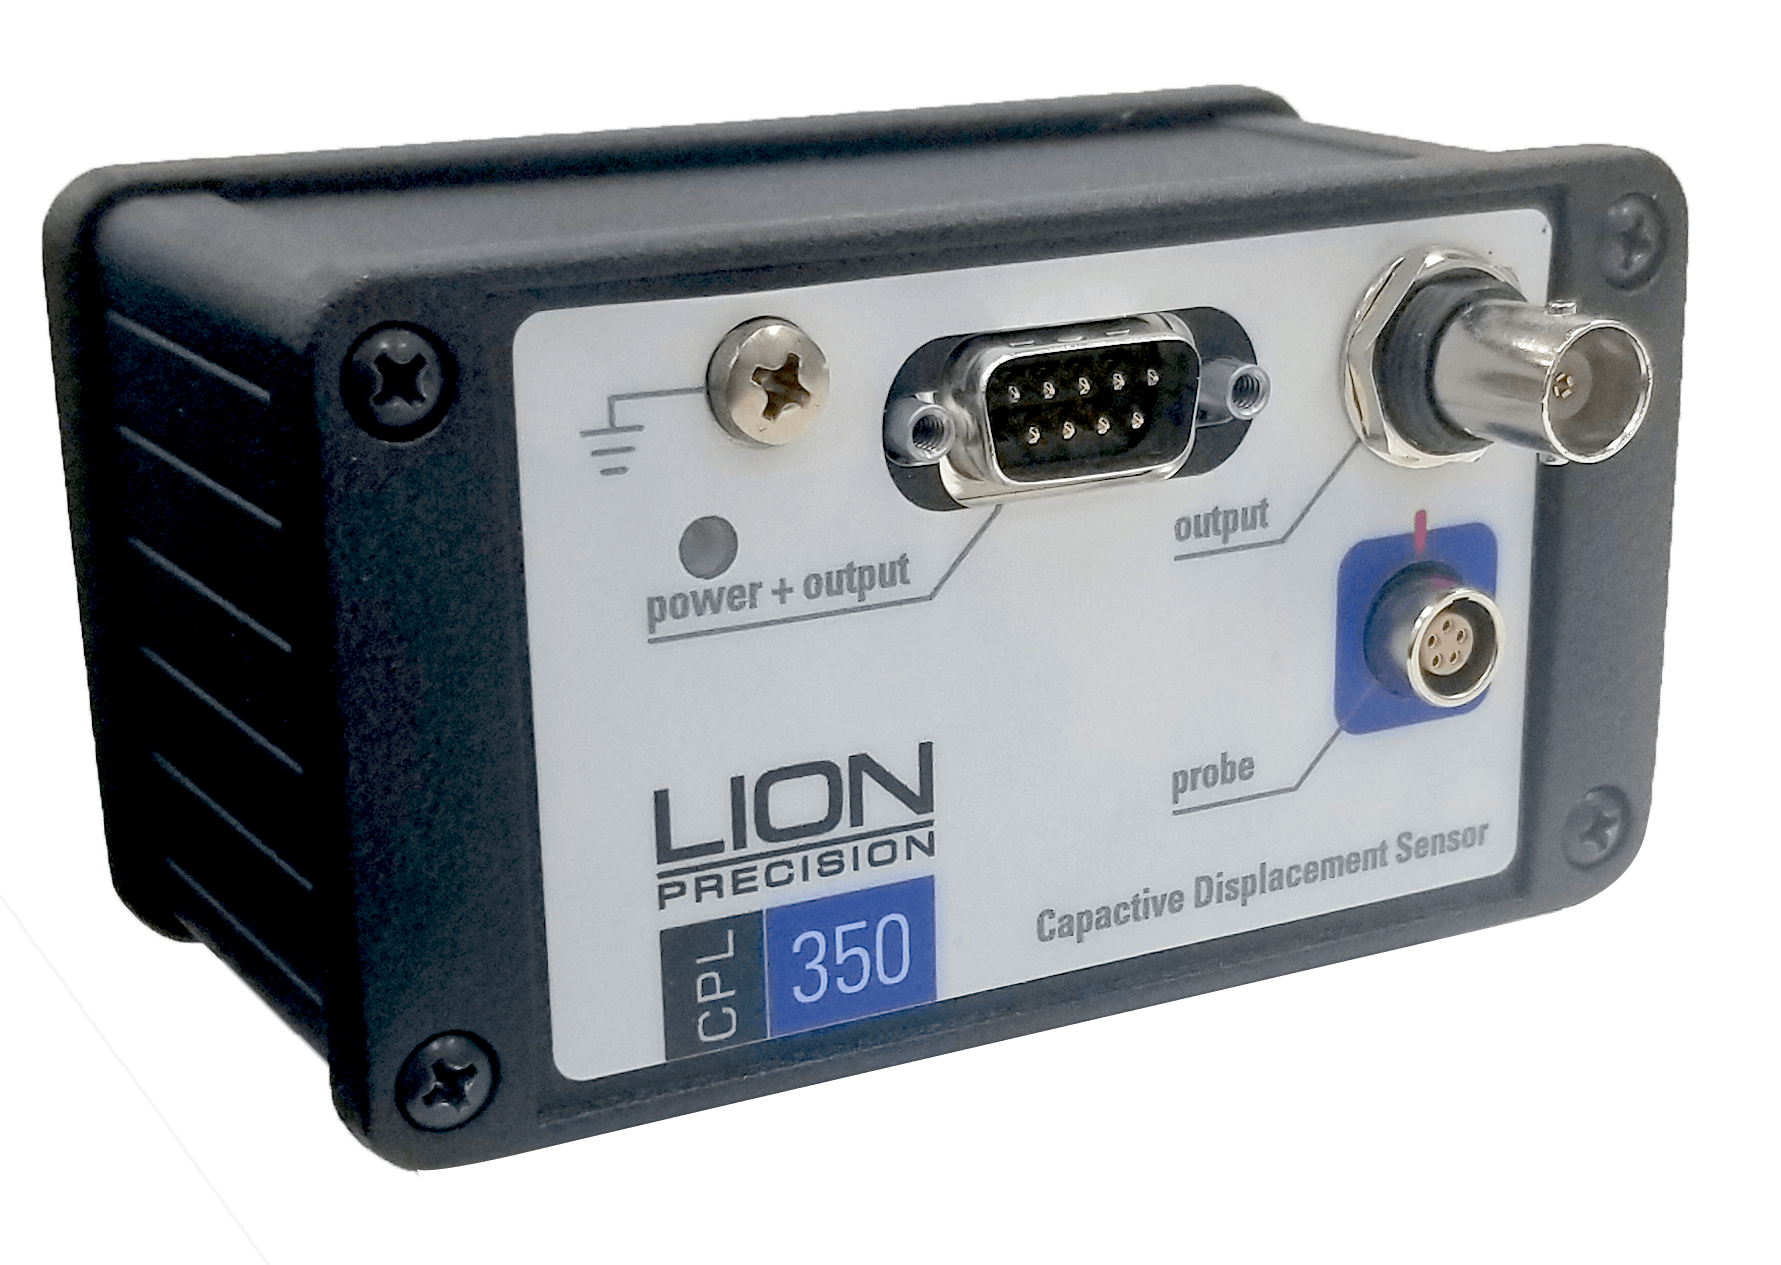
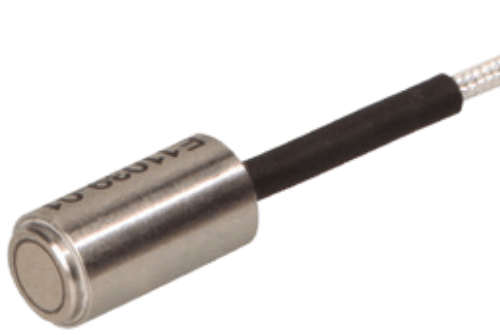
Lion Precision utilized a vacuum compatible C9.5-5.6S capacitive probe, and a custom calibrated CPL350 driver. This product met both the space constraints of the space the probe needed to fit in as well as vacuum compatibility.
The Benefit
The Customer reduced the defects such as blister, cracks, delamination and scratches while helping to find contamination such as chips, slurry, and residual cleaning agents. With a cleaner, flatter wafer backside the customer saw an improvement in the yield of wafer manufacturing output.
Other Applications
Besides wafer backside inspection applications, Lion Precision sensors can be used for Z-height displacement measurements on other types of microscopes and optical based metrology systems.
Customization
Lion Precision understands that our customers have unique high precision applications with difficult to achieve performance specifications. As a result we work closely with each customer to ensure they get a solution to meet their application needs. It is why more than 60% of our products are customized. It is also why we have built our team around quickly responding and servicing these custom niche applications. Please give us a call let’s discuss your specific needs.


